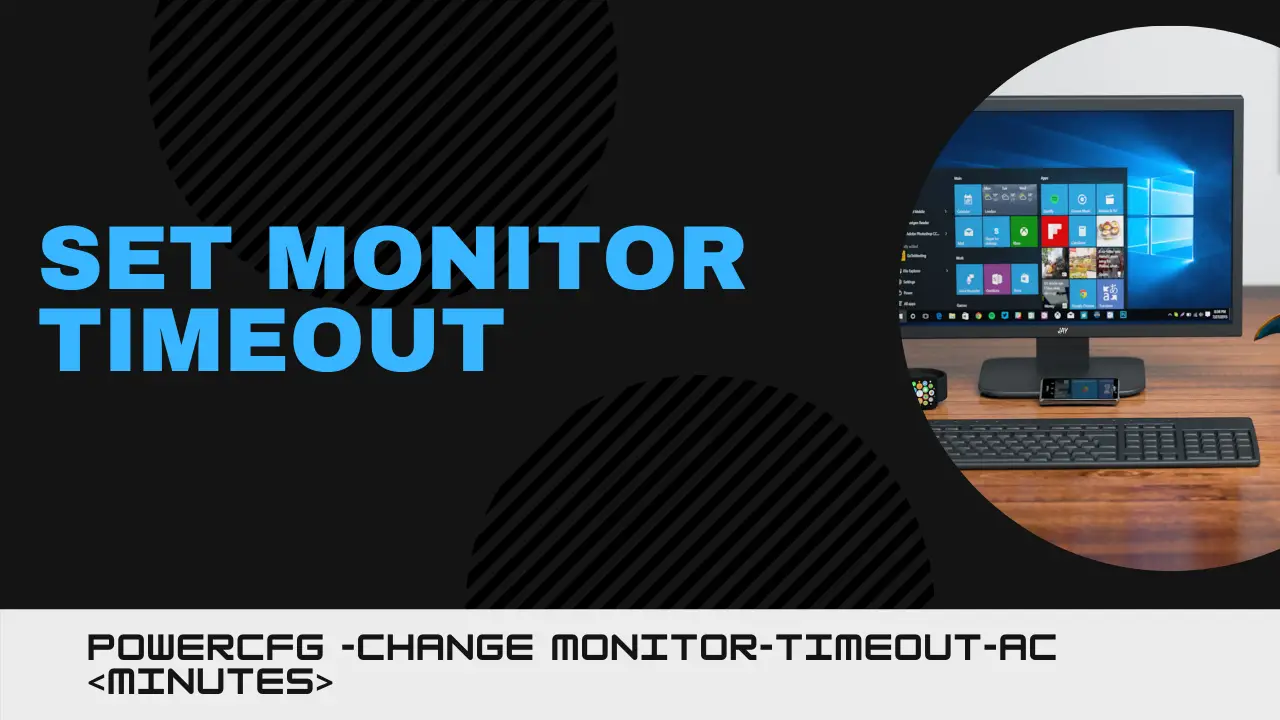
Set Monitor Timeout using PowerCFG command line
Press the Windows key to open the Start menu, and then type Command Prompt. Once it appears in the list, right-click on it to open with administrator privileges. You can also open PowerShell instead of the command prompt to achieve the same. Type, and then press Enter to execute the following command. Do remember the setting is different when it is plugged in and when it is running on battery. Replace minutes with numbers. The default is twenty minutes.
How long to wait before turning off the monitor while plugged in
How long to wait before turning off the monitor while on battery
So if you want the monitor to turn off itself after 5 minutes, the command will be powercfg -Change monitor-timeout-dc 5
Turning off the monitor when not needed is an excellent way to save electricity and enhance battery life. Make sure to set it according to your need. If you read for a long time or watch movies, a shorter time out will be annoying. I hope the post was informative and gave a good trick that allows you to change the monitor’s timeout based on the conditions quickly. You can also use this tool to set the Hard Disk Timeout.